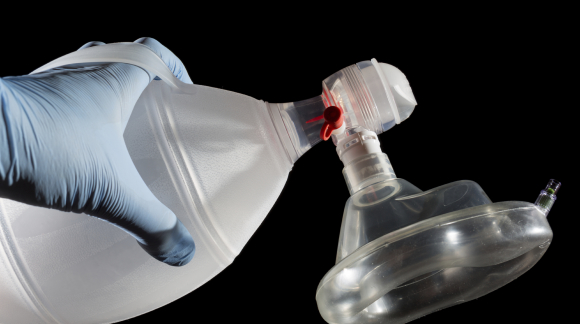
How to Make a Homemade Emergency Respirator Air Filter Mask

Adding a Gas Mask to Your Emergency Kit
In recent years society has become obsessed with the notion of the world, as we know it, coming to an end. Werewolves, zombies and vampires are romanticized and many people are preparing for a post-apocalyptic world.
Whether you are preparing for a natural disaster, economic collapse, or the end of the modern world, a gas mask should be a staple in your emergency kit.
Gas masks can protect you against smoke, infectious disease and hazardous agents. In addition to shielding your face, one of the most sensitive parts of your body, a gas mask can keep your lungs clear from foreign bodies, allowing you to breathe easily in even the most extreme situations.
Military grade gas masks are available to the public at prices ranging from $100 – $250, but there are more affordable alternatives. Even if you decide to spend the money, professional masks require maintenance. For example, they must be stored in certain temperatures and require regular upkeep, like changing the filters.
Make Your Own Gas Mask
Using items you already have in your home, you can create a gas mask without any special skill. A soda bottle gas mask offers protection to your face and still filters the air you breathe, functioning like a professional gas mask.
To get started you will need the following supplies:
- Two liter soda bottles (a green or clear one is the easiest to see through)
- Quality face masks and filters (ranging in price from $8 to $58) Note: Surgical masks are available from a good Medical Supply store. Surgical masks have multiple layers to help prevent viruses and biological matter infiltration. Also, consider the use of reparatory replacement filters as well.
- Duct Tape
- Stapler
- Permanent marker
- Scissors
Once you have gathered the materials, construct your mask by following the steps below:
- Trace a line, designating where you will cut your mask. Hold the bottle by the top nozzle. Mark your cutting line about two inches from the top of the bottle. You will want to cut a line similar to the shape of your face. Check out these photographs to get an idea of the basic shape.
- Cut along the lines. It doesn’t matter if it is perfectly straight because you will be covering it up in the next step.
- Using your duct tape, create a barrier around the cut you just made by adding at least two layers of tape. When complete, you should be able to get an airtight fit when it is held up to your face. To test fit, hold the mask up to your face and breathe in; the mask should pull in tight around your face.
- Carefully remove the straps from your mask (you’ll need these later), and stuff the mask into the bottom of the bottle with the filter facing down (toward the nozzle).
- Staple the mask straps to the top of the bottle. Before adding the final staple be sure that the straps are well positioned. If they are too low or too high, they likely will not have a tight hold.
It isn’t hard to imagine that a natural disaster or economic crash could create chaos and a need for your emergency survival kit. Hopefully you will never need to use your homemade gas mask, but it doesn’t hurt to prepare.
Additional Resources
- DIY Gas Mask, by Frenzy
- DIY Gas Mask to Survive Contamination, by Chris Black
- The Junk Science, Do-It-Yourself-Gas Mask, by Wayne Hicks
Videos
- Soda Bottle Gasmask DIY or Die Trying Project, by Zombease
- Homemade gas Mask, by Brian Brushwood
- Homemade Gas Mask, by channel.nationalgeographic.com
Education
- Gas Masks, by Spartacus-educational.com
- Respirator Fact Sheet, by The National Personal Protective Technology Laboratory
